More and more industries are turning to laser scanners to assist in their CAD design process. Using scan data can reduce the time taken to model existing landscapes, structures or equipment and at the same time it increases the accuracy, thus reducing errors and cost when retrofitting new equipment and/or planning changes to existing structures. It can also aid in producing more accurate estimates in less time when quoting for new work.
Supplied free with most Autodesk products you will find an additional program called Recap. Recap can import almost any scan data enabling you to view and analyse the data. Not only that but you can save your work as an RCS or RCP file which can be imported into most Autodesk software such as AutoCAD or Revit.
In this blog I’m going to focus on using a Point Cloud in AutoCAD.
Locate the Point Cloud panel on the Insert tab, select the ‘Attach’ option.

Browse to the location where your Recap files are stored.
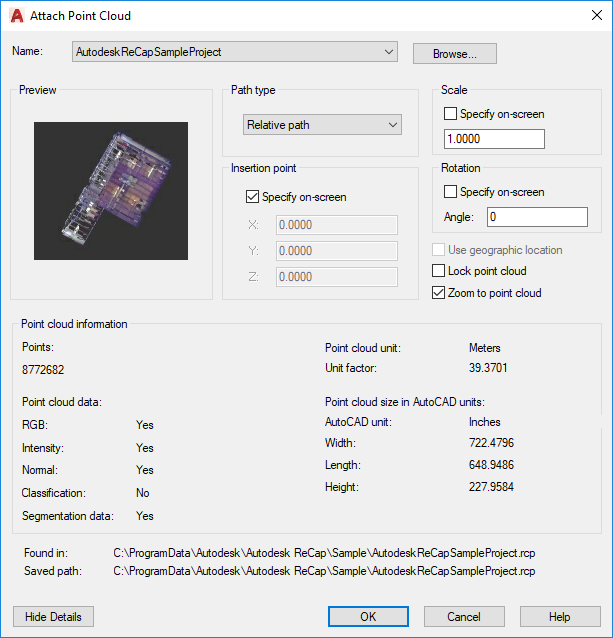
Once you have selected the required file you are confronted with a similar interface as you would see when attaching an external reference. If you hit the ‘Show Details’ button, you get further information on the Recap file and how it will be inserted.

Choose the required options and press OK.
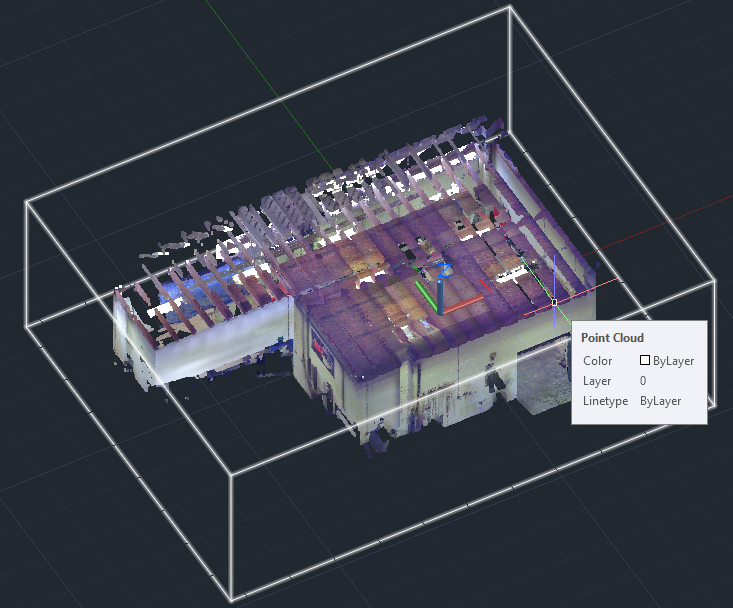
Once inserted into the model you will see a cube which contains the point cloud within in it.

You can use the normal zoom and orbit functions to navigate and analyse your point cloud.
If you click on the point cloud, you will notice a contextual tab opens with options to allow you to manipulate your point cloud as required.

Options such as cropping and sectioning allow you to remove unwanted parts of the cloud, and options on the Visualization panel allow you to change the appearance such as the colour and transparency.
Conclusion
With a point cloud loaded in your model you can ensure that your new or retrofit components will fit the existing site structures. Using tools in AutoCAD such as INTERFERE, you can carry out clash detection to check your model again the point cloud data.
For more information on this blog post, or if you have any other questions/requirements, please complete the below form:


