In this blog I am going to show you the workflow to take a Plant 3D model and export it so that it can be used to create a Revit Family file (rfa).
Pre-requisite- You will need the following tool BATCHEXPORTTOAUTOCAD.DLL for this workflow, you can download it by following this link.
It is possible to import 3D AutoCAD models into Revit to create a family file using the AutoCAD geometry.
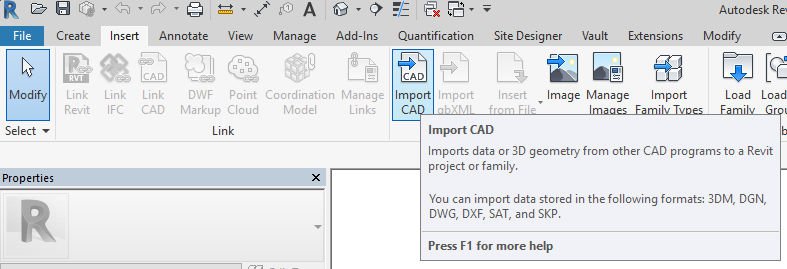
However, Revit cannot import Plant 3D models using the import from CAD tool, the Plant 3D objects show as lines, or wireframes.
The work around for this is to use the BATCHEXPORTTOAUTOCAD tool to create a model which contains solid AutoCAD geometry rather than Plant 3D objects.
Firstly open your Plant 3D model in AutoCAD Plant 3D.
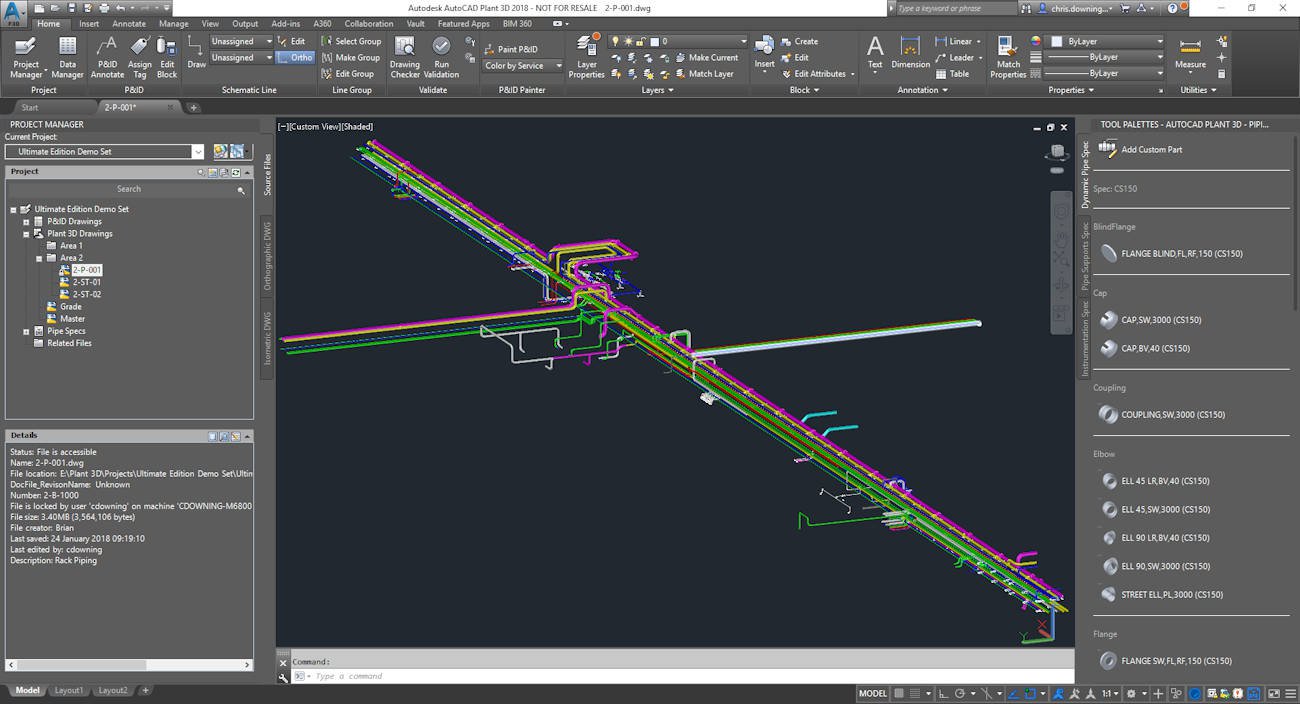
Once you have your model open you will need to install the BATCHEXPORTTOAUTOCAD.DLL file using the command NETLOAD.
Navigate to the dll file and select to install.
Once installed you will have the following commands available:
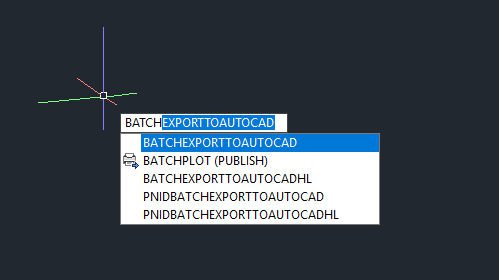
Run the command BATCHEXPORTTOAUTOCAD.
Select a logical destination for the plain AutoCAD 3D model to reside i.e. the related files of the Plant 3D project.
Once the export has finished (this may take some time depending on the size of the model) you will find the exported dwg’s in the folder you chose.
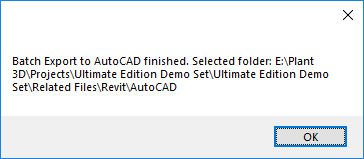
Conveniently the export will find all the 3D models and xrefs then export them matching the folder structure of your Plant 3D project.

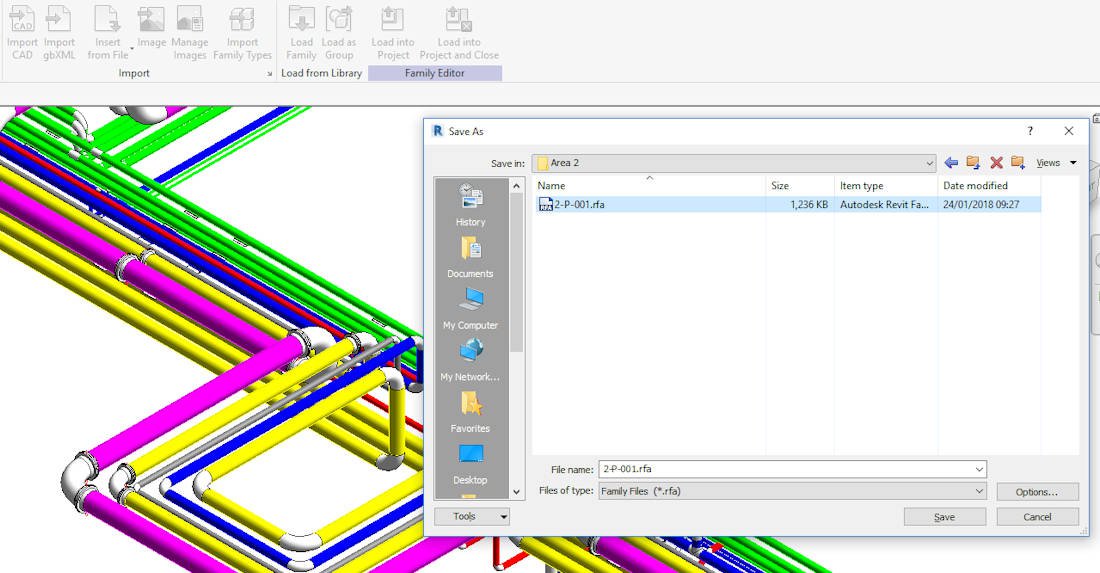
Now you will be able to import these AutoCAD models into a generic family model using the Import CAD tool within Revit, saving the file as an rfa to use in any Revit project you choose.
Please feel free to contact Man and Machine if you have any questions on this topic.
You can download a copy of the BATCHEXPORTTOAUTOCAD.DLL tool from my A360 account using this link http://a360.co/2nfsRC1
Also please check out my YouTube video which shows you how to carry out this workflow https://youtu.be/Pm3p5f9h45E


