Rigging in 3ds max is a term used to link components together so that they move in the way that you want them to, and interact with each other as necessary, The simplest way to explain this is to use the logic for a simple multi arm crane.
Create your objects, in this case I am going to use simple boxes and cylinders to represent a crane arm – but in reality they could be anything:
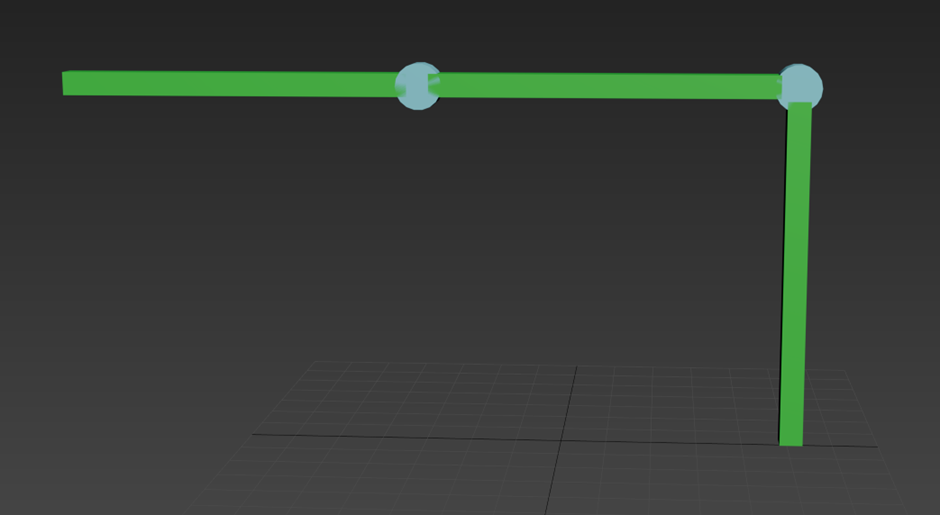
We will want to use Select and Link to make links between components from the top left of your 3ds Max Window:

Linking components means that one component will follow another’s movement. In this example, use the vertical column as the first, main component, and continue along to run of components linking them all in turn. To do this, select component 1 in the image below, click hold and drag your mouse to component 2 in the image below and let go to make the link:
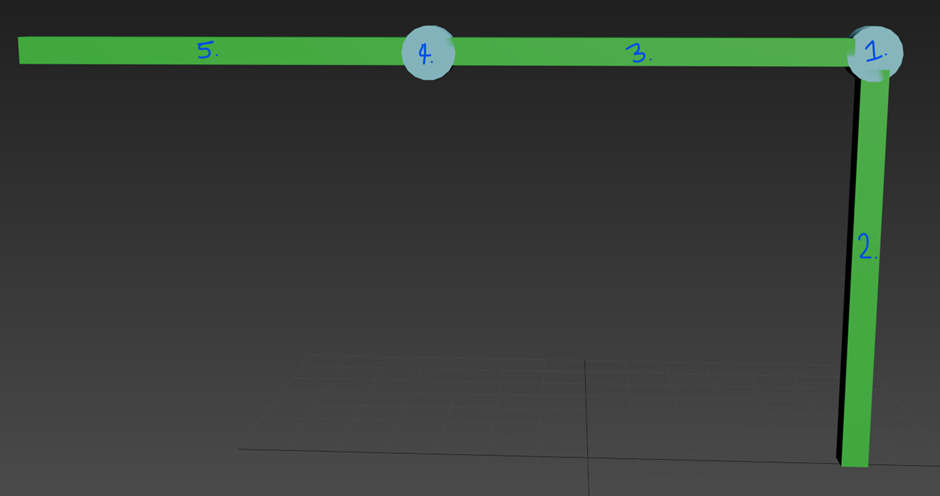
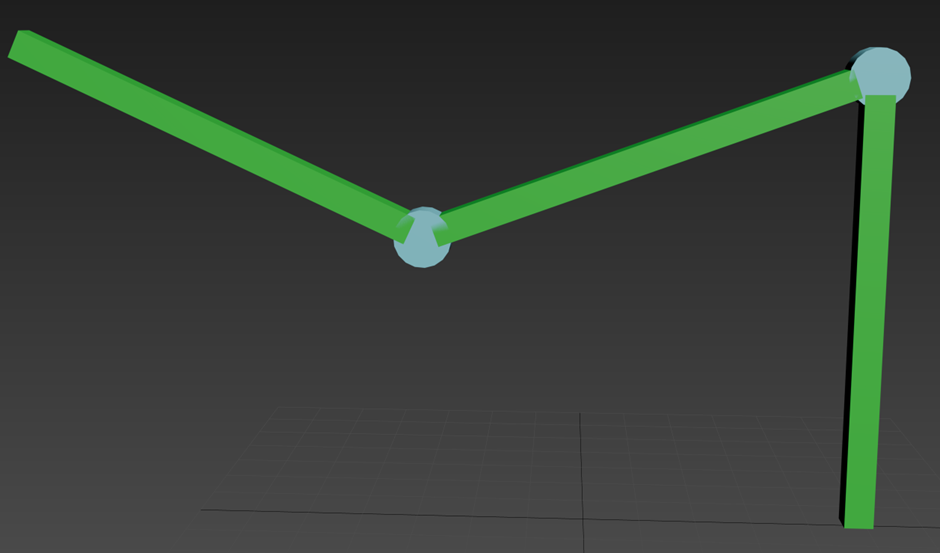
Following this same logic, link component 3 to component 1, component 4 to component 3, and component 5 to component 4. Select your move tool, and move component 1, all component will move with it. Now select your rotate tool and rotate components 1 and 4 in turn, the relevant components will move correctly, and as you would expect:
To make selection and manipulation easier, we could have created Dummy components in max to control the overall movements, and instead of linking component to component, link dummy to dummy, then component to dummy. We can change our model to use this logic by selecting everything, followed by Unlink. Now link to your Dummys in your model in the same way, linking 2 to 1, and 3 to 2. From there you also want to link your components back to your dummy’s. Using the original component names, lets link components 2 to dummy 1, Components 3 and 1 to dummy 2, and components 4 and 5 to dummy 3.
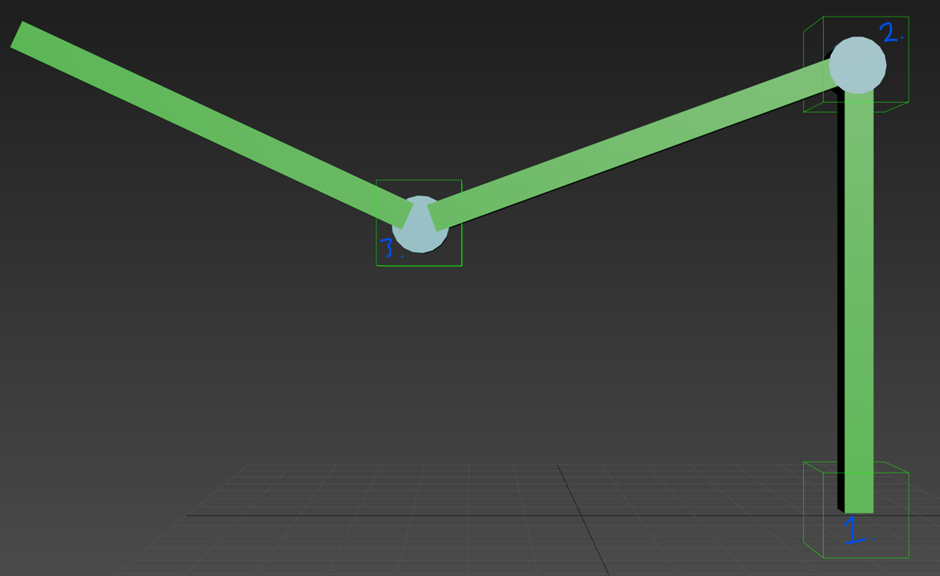
The result will be the same, but you now have large, easy to manipulate controllers to control your animation.
And it is as simple as that, using this logic we can create animations of components that move and act as you would expect them to do in real life!
For more information on this blog post, or if you have any other questions/requirements, please complete the below form:
Related Links
Autodesk Product Design and Manufacturing Collection – Man and Machine
Autodesk Media and Entertainment Collection – Man and Machine
Autodesk 3ds Max, VRED and Alias Training – Man and Machine
Media and Entertainment Products – Man and Machine
Design and Manufacturing Products – Man and Machine
Design and Manufacturing Training – Man and Machine


