Using the Enscape plugin for Autodesk Revit, I will show you in 5 simple steps how to create a basic flythough video animation you can save and share.
Here we go, 5 steps to create a Revit Enscape flythrough animation…
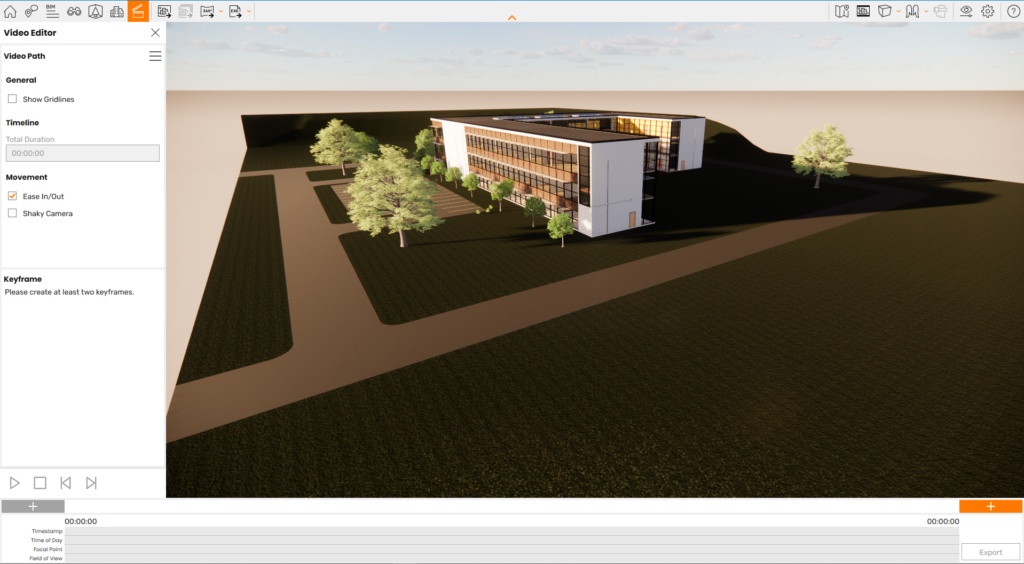
Step 1 – In Enscape Open the Video Editor:

Step 2 – Position yourself and Click the Add Keyframe Button:

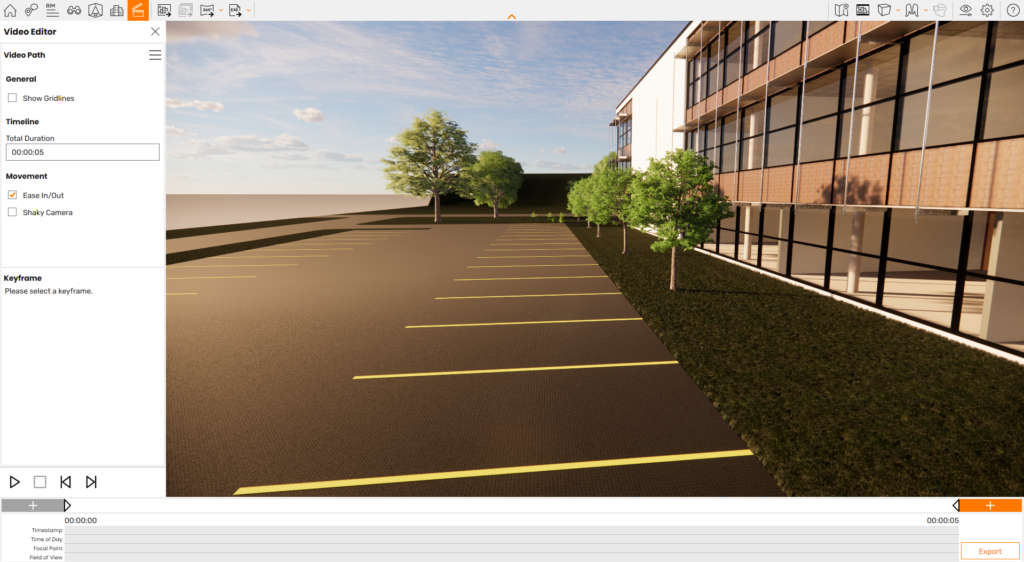
Step 3 – Move to your next Postion and Add Second Keyframe:

Step 4 – Customise the Time it takes to Move to the Keyframe:

Step 5 – Click the Export Button when you have Added all the Required Keyframes to Save:

And its as easy as that, with a bit of time adding keyframes to smooth out the path and adjusting the time to get the speed and feel right you can easily create and export video flythroughs in Revit using Enscape.
For more information on this blog post, or if you have any other questions/requirements, please complete the below form:
Related Links
Autodesk Revit – Man and Machine
Autodesk AEC Collection – Man and Machine
Autodesk Revit Training – Man and Machine
Autodesk Revit Demonstrations – Man and Machine
Autodesk Revit – Autodesk Platinum Partner – Man and Machine
Autodesk Revit LT – Autodesk Platinum Partner – Man and Machine
Autodesk Revit LT Suite – AutoCAD & Revit LT – Man and Machine
Revit Architecture Training – Platinum Partner – Man and Machine
Autodesk AEC Collection – Platinum Partners – Man and Machine


