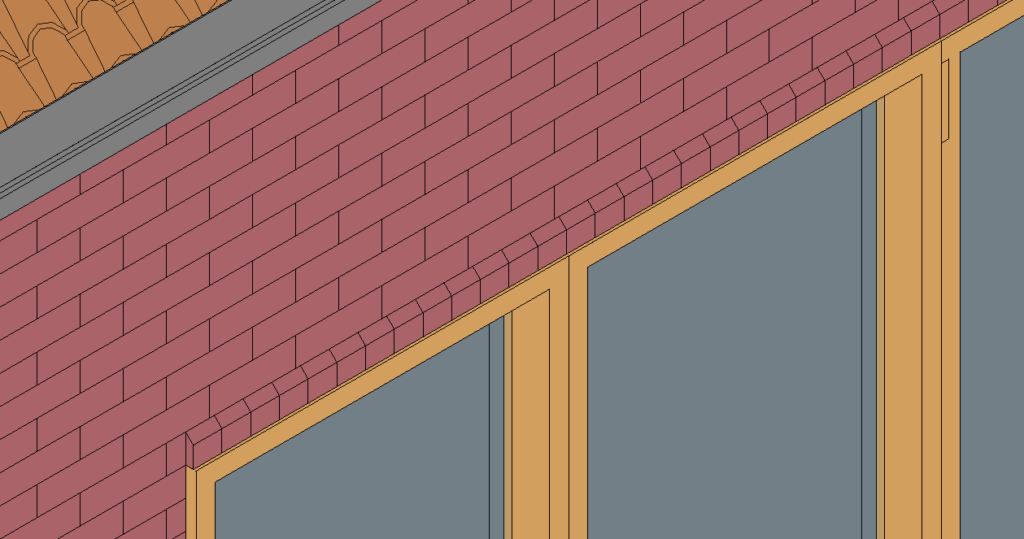
Creating a Soldier Course in Revit couldn’t be easier, following the below 5 steps I will show you how to do this quickly and easily.
Revit has many ways in which you can achieve the same task, today I am going to show you how you can create a soldier course using the wall sweep tool. The sweep tool is specifically designed for this and has a number of advantages such as reusability, level of customisation and the ability to save and use on multiple projects.
Creating a Soldier Course
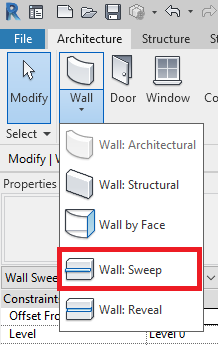
1. Locate the Wall Sweep Tool
The wall sweep tool can be found on the Architecture tab by expanding the Wall tool, here you will see the button for “Wall: Sweep”.
2. Create a new Type
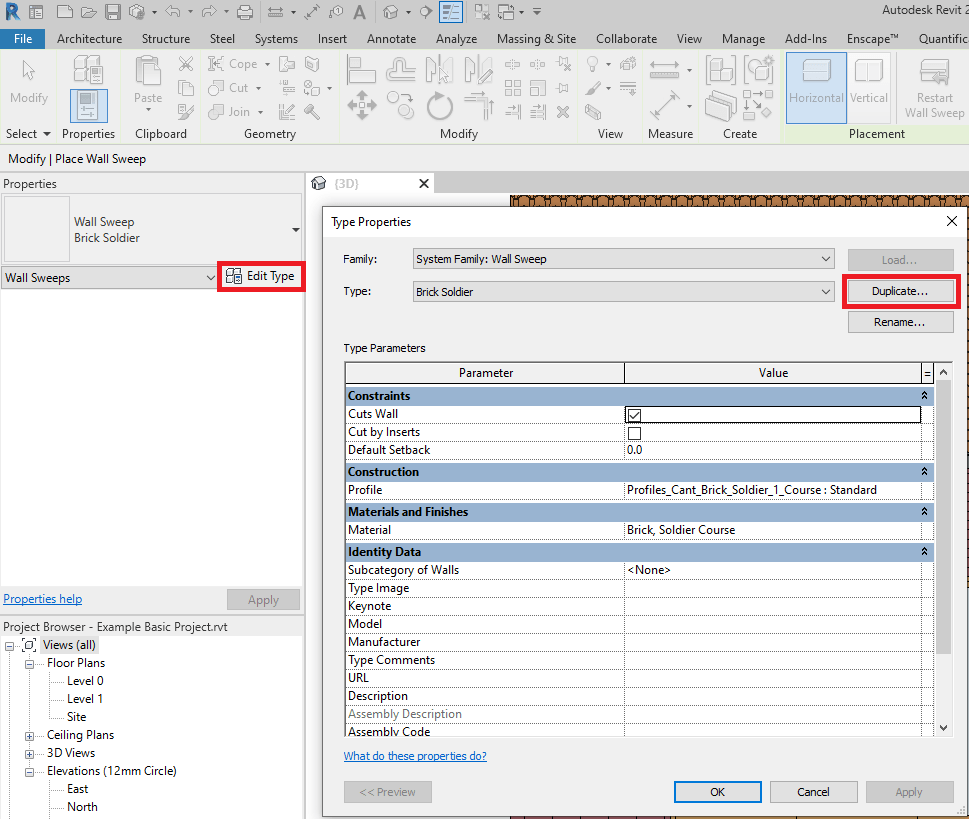
Unless the project already contains a sweep setup for the type of soldier course you wish to place you will need to create one by clicking “Edit Type” in the properties window and duplicating an existing sweep.
3. Customise the Sweep
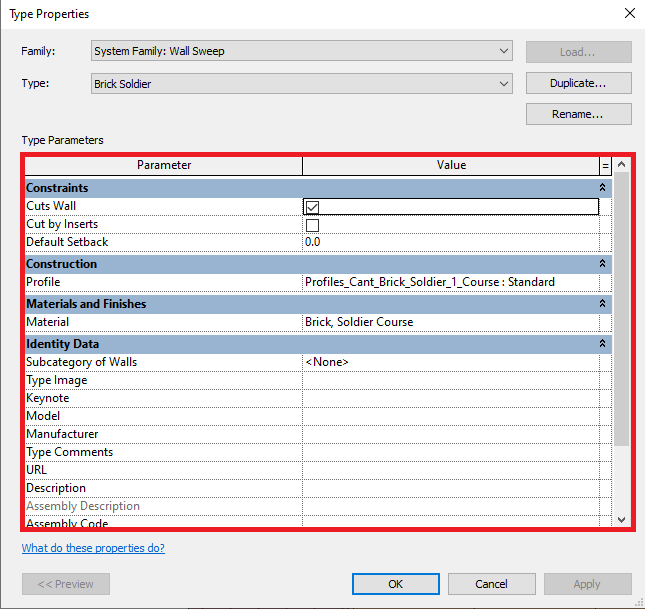
Once duplicated name and customise the new sweep such as does it cut walls, which profile to use and the material.
4. Placing the Soldier Course
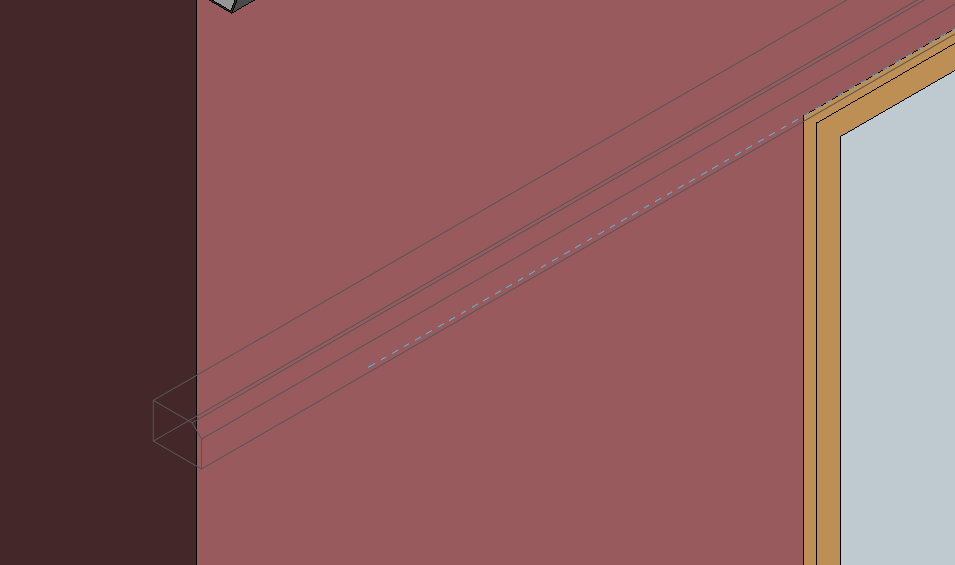
Next place the sweep by moving your mouse curser over the fall face, left click to place.
5. Finalising the details
Once placed, finalise the details, drag the ends to change the length and location, set an offset from wall if one is required and align the detail with the existing wall.
If you want to save your newly created soldier Course to use on other projects check out how in my guide on “How to Save your Revit Custom System Families“
Conclusion
The wall Sweep tool is a ready purpose too for adding a sweep to a wall face without the need for modifying existing wall types or using more generic tools such as in-place families.
Want to know more about Wall Sweeps then don’t forget to checkout the Autodesk Knowledge Network.
For more information on this blog post, or if you have any other questions/requirements, please complete the below form:
Related Links
Autodesk Revit – Man and Machine
Autodesk AEC Collection – Man and Machine
Autodesk Revit Training – Man and Machine
Autodesk Revit Demonstrations – Man and Machine
Autodesk Revit – Autodesk Platinum Partner – Man and Machine
Autodesk Revit LT – Autodesk Platinum Partner – Man and Machine
Autodesk Revit LT Suite – AutoCAD & Revit LT – Man and Machine
Revit Architecture Training – Platinum Partner – Man and Machine
Autodesk AEC Collection – Platinum Partners – Man and Machine


