If presentation is key to your drawing sheet deliverables there is a little used tool within Revit that allows you to align views over multiple sheets. Guide grids will improve the overall look and feel of your presentation drawings and gain consistency over your outputs.
Guide Grids can be activated in a sheet view only so once you have navigated to a sheet within your Project Browser, select the View Tab and find the Guide Grid button shown below:

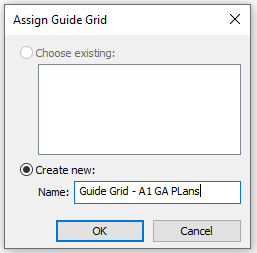
Once activated you will see a dialogue box which will allow you to create a name for the grid. This allows you to use the grid on multiple sheet types. It may be of use to create a grid for different drawing outputs such as General Arrangement Plans, Room Elevations or even schedules. Picking a sensible name to allow logical reuse is a good plan here.

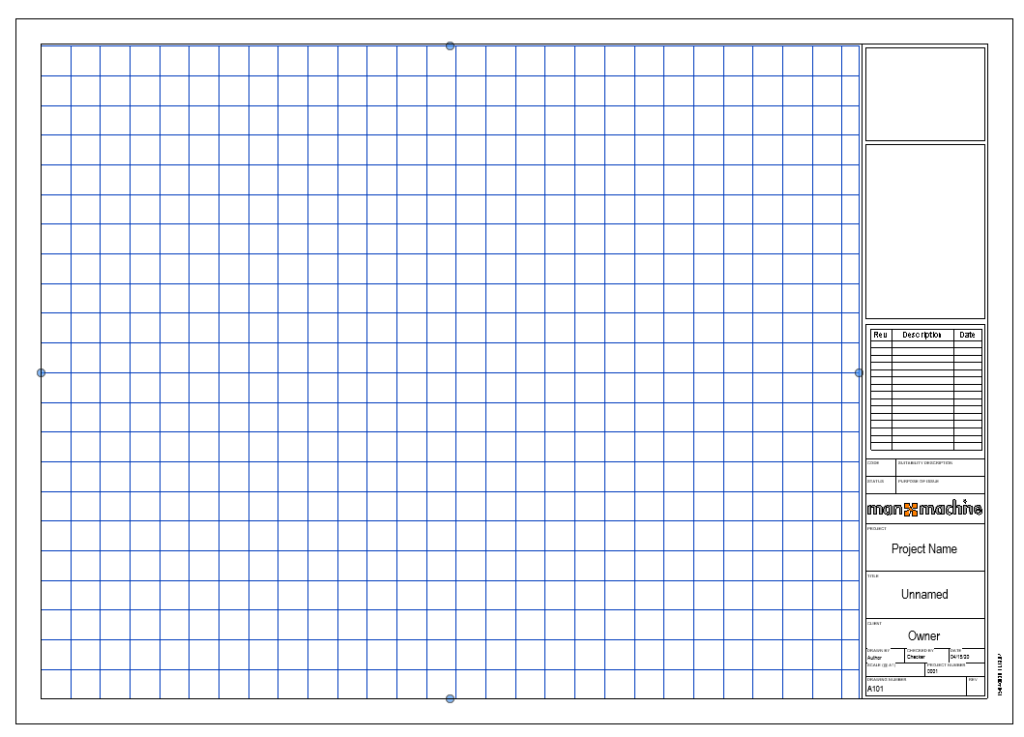
Once named and activated, the title sheet will now be overlaid with a blue grid. Firstly the grid spacing will be set within the properties pane with the default being set at 25mm spacing. This blue grid can also be aligned to your sheet and the extents can be adjusted in the same way that you would with a crop or extents box. Once in place this will retain the position and alignment to be able to be applied to further sheets in the future.

To add the same grid to a new sheet you just need to navigate to the View Tab and Guide Grid button again. You will then have the option to create a new grid or select one which has previously been applied. Once the views are added to the sheets you can then use the grids as alignment for building components or edges to ensure that the views are placed consistently in the same place on each sheet or even aligning tags and labels thus improving the quality and consistency of your design outputs.
Guide Grids can be deleted should you not want to use them any longer or turned off in the visibility graphics options in the usual ways.
For more information on this blog post, or if you have any other questions/requirements, please complete the below form:
Related Links
Autodesk Revit – Man and Machine
Autodesk AEC Collection – Man and Machine
Autodesk Revit Training – Man and Machine
Autodesk Revit Demonstrations – Man and Machine
Autodesk Revit – Autodesk Platinum Partner – Man and Machine
Autodesk Revit LT – Autodesk Platinum Partner – Man and Machine
Autodesk Revit LT Suite – AutoCAD & Revit LT – Man and Machine
Revit Architecture Training – Platinum Partner – Man and Machine
Autodesk AEC Collection – Platinum Partners – Man and Machine


